What are the features of floor insulation with stone or basalt wool, how to choose a material, its advantages and disadvantages, surface preparation and screed creation, basic work, final finishing. Thermal insulation of the floor with stone wool is an excellent way to carry out thermal insulation at an optimal ratio of price and quality of the material. This is an ideal solution for those buildings in which the floors were not initially insulated, or it was produced with numerous deviations from the standard standards.
Features of floor insulation with stone wool
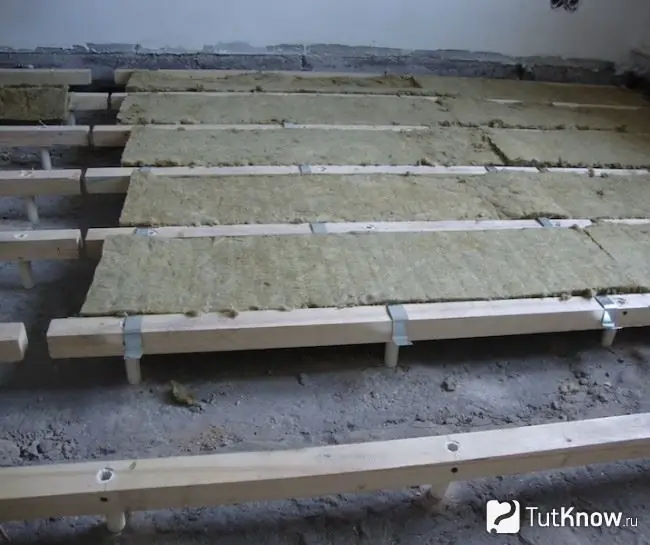
The basis of this heat insulator is made up of several key components: molten rock, slag or glass, in some cases - quartz.
In the production of stone wool, the rock is first heated, then blown up with air to such a state that thin fibers are formed. Binder polymers combine them into a single web, which is characterized by a porous and loose structure. Unlike glass wool, the fibers of its mineral analogue do not have the same thorniness.
Basalt wool for the floor is produced in mats or rolls, which may differ in their characteristics. Such products are convenient to use in insulation works. It is enough to unwind the roll and cut the required piece along the length of the room, then the next one.
Depending on the area of application, the thickness of the material can vary from 50 to 200 mm and even more. If there is no stone wool of the required thickness on sale, you can make insulation in several layers. For example, if in the central regions of Russia 150 mm of wool is needed for thermal insulation of the floor, then this role will be successfully performed by a 50-mm material, subject to three-layer insulation.
Before purchasing stone wool for insulation, read the following tips:
- When choosing a material, pay attention to its packaging. If it has traces of significant damage, which led to the exposure of cotton wool, it is better to refuse to buy. The material could get wet and lose its heat-insulating qualities.
- To insulate cold ground floors and basements, you will need to choose products with a thickness of at least 150 mm.
- If the building is located in a zone of severe frosty winters, it is better to carry out insulation in 2 layers or immediately buy a two-layer stone wool.
Note! The thickness and density of basalt wool for the floor is selected taking into account the climatic features and the nature of the room. For mild climates or buildings that are used only during the warm season, a thickness of 50 mm is sufficient. But in houses where year-round living is planned, it is better to use 200 mm insulation.
Advantages and disadvantages of floor insulation with stone wool
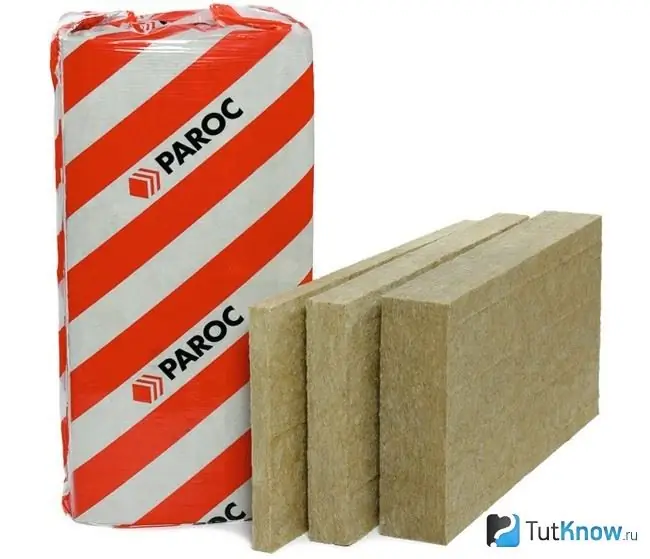
Among the main advantages of stone wool, I would like to dwell on the following qualities:
- Fire safety due to the complete incombustibility of the material. In other words, it additionally also protects against the spread of the fire in the building. The insulation is able to withstand up to 1000 degrees Celsius without changing its properties.
- High heat-insulating and sound-insulating characteristics. Not every heater can boast of such a combination. By purchasing stone wool, the owner solves at the same time 2 of his problems - it is the insulation of floors with basalt wool and insulation from extraneous noise that penetrates into the room from the outside.
- Resistant to aggressive chemicals or biological influences.
- Excellent vapor permeability distinguishes cotton wool from a number of synthetic heat insulators.
- Resistance to mold, rot, various fungi, rodents and parasites, which can easily destroy all efforts and investments in the purchase and installation of insulation.
- High frost resistance allows using basalt or stone wool even in severe frosty winters.
- Convenience of installation and its ease. The material itself weighs very little, and this greatly facilitates the work on thermal insulation of buildings.
- Preservation of the original shapes and sizes, which is associated with the peculiarities of the structure of the material.
- The economy of carrying out insulation work, caused by the low cost of stone wool.
Among the possible disadvantages, we highlight the following points:
- Despite the fact that the material is recognized as environmentally friendly for humans, when shaking it, dust clouds can be created, which are undesirable for the pulmonary tract. That is why protective respiratory masks should not be neglected when working with it. Allergy sufferers must take special precautions.
- It is not allowed to use stone wool as a heat insulator in public catering facilities, although in many cases they turn a blind eye to this.
- This insulation gives a higher load on the structure in comparison, for example, with the same expanded polystyrene.
- The disadvantage is the appearance of cold bridges at the joints. That is why it will be necessary to seal these gaps with assembly wool, which will avoid heat loss.
Otherwise, any disadvantages from the use of stone wool can be associated with the purchase of low-quality material or its unfair storage.
Floor insulation technology with stone wool
The thermal insulation process consists of a number of stages, each of which is designed to provide reliable thermal and waterproofing in the building.
Preparatory work before installing stone wool
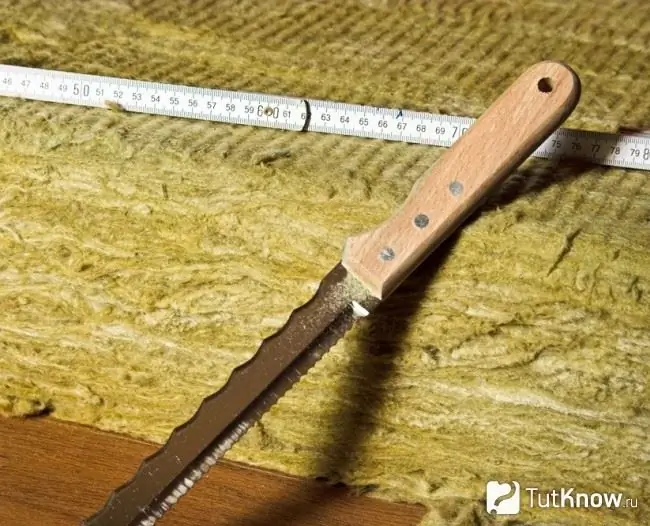
Before laying the heat insulator on the floor, perform the so-called "semi-dry screed", which levels the surface. These works got their name due to the fact that less water is required than in traditional solutions. As a result, the load is lightened, as well as the labor intensity of the work is reduced. The reduced level of humidity will not interfere with the simultaneous finishing in adjacent rooms.
To prepare the solution, we stock up on cement grade 400 D20, washed sand and individual additives, which are designed to improve the streamlining of the mixture. Water can be taken from a regular tap. 3 shovels of cement and 1 sand are alternately poured into the trough until the required volume is obtained. After that, water is added until a consistency is obtained, in which the lump of solution will not release moisture, but will be able to maintain the shape given to it.
Now you can start pouring the mixture onto a pre-prepared pallet made of waterproofing film with sides 10-15 cm high. To prevent the solution from getting on the walls, a restrictive tape is used. On top of the base, special level beacons are installed. This role can be played even by heaps of mortar, on which the guide profiles are placed.
The mixed mortar is thrown with shovels until the required height is reached. After that, the surface is compacted, and a semi-dry solution is poured on top. The screed is leveled and compacted at the same time. The finished surface is immediately sanded. As a rule, the thickness of such a screed should be within 4-5 cm.
A day later, expansion joints are planned and cut out, the width of which is 3 mm, and the depth is up to 1/3 of the thickness of the screed itself. In cases where pouring is carried out in hot weather, the floor surface must be moistened daily, thereby avoiding cracking of the mixture. Compliance with all these rules will allow you to create a high-quality, perfectly flat surface for thermal insulation. Taking into account the various aspects associated with thermal insulation work, we will need the following materials: insulation in mats or rolls, ground paint, vapor barrier material, cement and sand, glue mixture, laminate for finishing, plinth with fixings.
As tools, you must prepare in advance: a hammer, shovels, trowel, level, pencil, tape measure, scissors, hacksaw, building corner.
Instructions for installing stone wool on the floor
It all starts with the procedure for leveling the floor surface, which is especially necessary when it comes to the first floor standing on the ground. Even when we are installing a heat insulator on floor slabs, cracks and defects are often found in them. To even out irregularities in the ground, the surface is covered with a 10 cm layer of rubble. After that, a layer of sand of the same thickness is laid on top.
After the screed is prepared, a vapor barrier film must be laid on it - floor insulation with stone wool cannot be sufficiently effective without this. This is due to the fact that a heat insulator unprotected from moisture easily damp, and this immediately reduces its insulating characteristics. A polyethylene film or even roofing felt, which is widely used in construction, is well suited for the role of a vapor barrier. Today on sale you can find special vapor barrier membranes, which consist of several layers. It is necessary to lay such material as tightly as possible in relation to the surface of the walls and interfloor floors. Any ventilation openings will lead to condensation.
The algorithm for carrying out insulation work will be reduced to approximately the following actions:
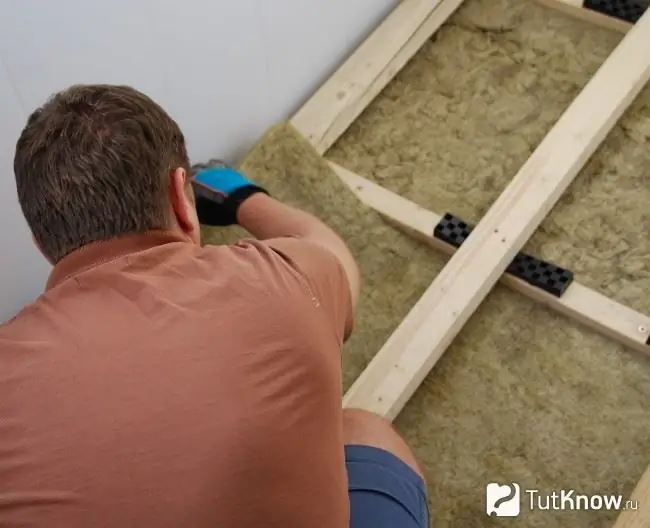
- First, wooden logs are prepared. They will secure the material and create cells in which it can be stacked. To equip the logs, you need to purchase dried wood, which is then sawn to the required size and cleaned.
- A roll of stone wool is taken, unwound and placed on the vapor barrier in such a way that there are no free slots and gaps. This will prevent moisture build-up.
- After the mineral wool is laid out, it is covered with another vapor barrier. Such an operation is especially in demand when insulating attic spaces. In this case, ventilation holes are allowed - through them, moisture will evaporate if it gets under the vapor barrier.
- As soon as the insulation is installed, you can start forming the finished floor. Prior to finishing, it is advisable to use a cement or concrete screed to create a level surface.
Finishing of the insulated floor
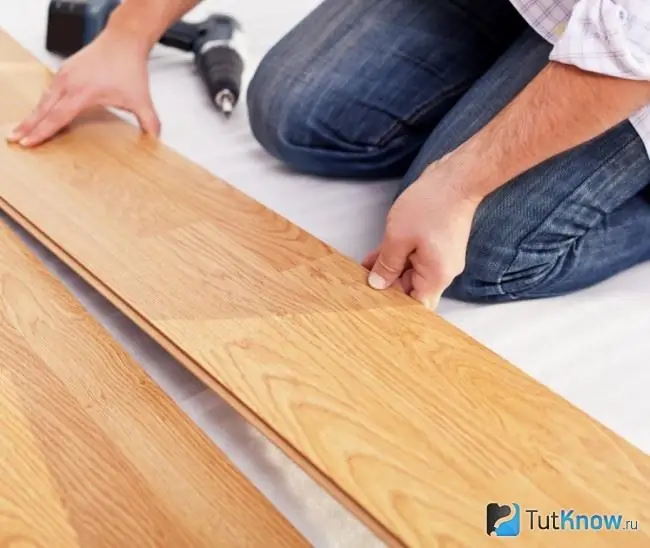
One of the popular solutions for this is to lay the laminate on a heat-insulated surface. It will not only give the floor an aesthetically harmonious look, but also create a feeling of coziness. Moreover, even an unprepared person is quite capable of mastering such a procedure.
The laying of this material is carried out in rooms where there is no high humidity or a large temperature difference. The base for the laminate is a concrete base or a wooden floor covering.
Laminate is purchased with a small margin, since additional trimming may be required at joints, transitions, bends.
In the case when there are significant irregularities, then pre-alignment or use a system of self-leveling floors. The surface is cleaned of debris and dust accumulated on it. If necessary, wet cleaning is done. Regardless of whether the base is concrete or wooden, it is carefully primed, which automatically improves its bonding properties.
Now you can lay a layer of waterproofing on it. The strips should be overlapped, and the joints should be covered with tape.
In order to extend the operational life of the laminate, a substrate can be laid under it, but not all experts recommend doing this without fail. If you still resort to this stage, then the lining should go on the walls at least a couple of centimeters.
Laying the laminate starts from a source of natural light, that is, from the window of the room. The first lamella of the material is laid out from the side of the window, in any of 2 close to the located corners. Pegs are inserted between it and the wall, after which the row continues to the very end.
It is important to pay attention to the correct installation of each of the elements. Each new lamella is carefully wound into the groove of the previous one and fixed. If the whole piece does not fit to the wall, you will need to cut out the segment that is necessary in size.
The elements of each subsequent row fit much easier: you do not need to snap the lock, you just need to hook the lamella of one row with the product of the adjacent row and bring it to the end. Despite the fact that it is not recommended to use a hammer, in some cases, careful tapping is allowed, but always with a block of wood.
In a similar way, the floor space in the entire room is filled, and special attention should be paid to the places of passage of communications, niches, door and window openings. After finishing work, you can remove the wedges.
Now you should start fixing the skirting boards. A feature of the laminate flooring is that the product must be fixed to the wall, and not to the floor. If they are not perfectly flat, it is better to use plastic panels. Wooden ones are allowed to be used only on absolutely flat wall surfaces. If there is a need to lay electrical wires, then they are brought into special grooves in the plinth. They do not need to be laid directly between the laminate and the wall.
In order for the laminate flooring to serve for a long time, it must be protected from liquid ingress. It is advisable to provide sharp legs of home furniture with soft felt pads. How to insulate the floor with stone wool - watch the video:

Considering all the recommendations given in the article, you can easily carry out insulation work, especially if you use the services of one or two assistants.


