Laying plywood on the floor, material selection criteria, varieties, advantages and disadvantages, installation technology. Laying plywood on the floor is a simple process, but you need to know how to properly cut the material, how to fit the finished sheets and how to use them to level the surface. An equally important issue is the quality of plywood. To choose it correctly, you will need to understand the varieties and find out where each of them is used.
The main types of plywood for flooring
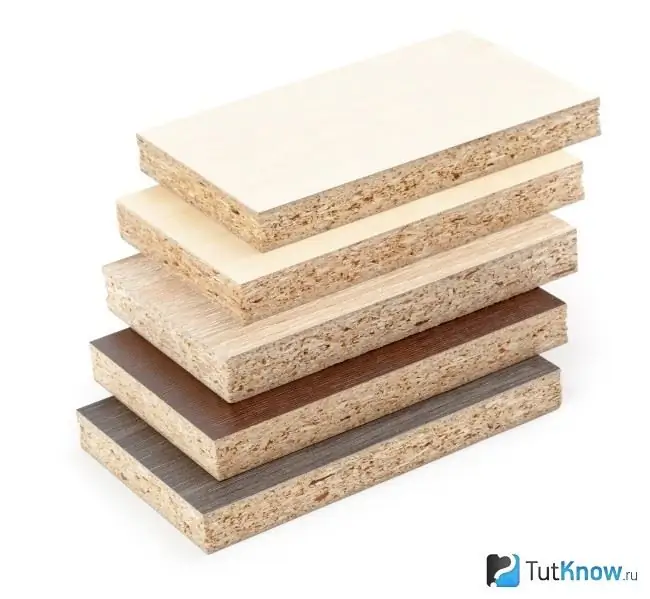
Wood-laminated board (chipboard) is a building material consisting of several veneer layers glued together. Each layer is laid perpendicular to the fibers of the previous one, which increases the strength of the material. An odd number of layers must be selected - at least 3, the maximum is not limited. The thickness of the plywood is selected depending on where it will be laid, the expected value of the load and the required strength.
The generally accepted division of plywood by moisture resistance:
- FC (moisture resistant) … Veneer layers are glued with urea compound. The production technology allows the use of such plywood in residential premises, except for those where the humidity is higher than normal - bathrooms, kitchens, bathrooms.
- FSF (super moisture resistant) … The veneer layers are glued together with a poisonous glue - phenol-formaldehyde resin. The material has high strength, wear resistance, resistance to mechanical damage. This plywood is mainly used for outdoor work. It is forbidden to use in baths and saunas.
- FBA (environmentally friendly) … The veneer layers are glued with albuminocasein glue. The use of such plywood is limited to dry rooms only, as it is susceptible to moisture.
- FB (moisture resistant) … It is impregnated with bakelite varnish. The scope of application is wide. Plywood does not deteriorate even in high humidity conditions.
- BS … Plywood made with alcohol-based bakelite glue. The material has increased flexibility, strength, is not affected by mold, and is resistant to moisture.
- BV … The veneer sheets are bonded with water-soluble bakelite glue. Plywood is strong and flexible, but not moisture resistant.
There are 5 types of plywood for the floor. Each of them has its own characteristics - a regulated number of cracks, knots and other defects (GOST 3916.1-96).
When buying floor material, you need to choose it correctly:
- Superior grade (E marking) … The material has no external flaws. Used as a topcoat, including for floors.
- First grade … Knots can be found on the surface, but they do not exceed 10% of the total sheet area, the length of the cracks is no more than 2 cm. Such plywood is also used for finishing the floor.
- Second grade … On the surface, there are chipped, knots, burrs, cracks. The length of cracks can reach 20 cm. The total volume of defects does not exceed 40%.
- Third grade … The gluing of the layers is of high quality. Wormholes with a diameter of no more than 6 mm are allowed. The number of defects on a sheet is no more than 9. Plywood is used for leveling, creating a rough base for finishing the floor.
- Fourth, lowest, grade … The gluing of the layers is of high quality, the diameter of the wormholes can reach 4.5 cm, the edge is uneven, there are many intergrown knots on the surface. Used only for subfloors.
Another division of plywood is produced according to the type of wood - coniferous and birch. Softwood is made from spruce or pine, some of the inner layers may be hardwood veneer. Such plywood is resistant to rotting and fungal infections, thanks to the resin contained in coniferous wood. Birch is used for interior and finishing works, it is made from birch veneer. It is significantly more expensive than coniferous and is less commonly used in construction.
Plywood can be laminated, sanded on both sides (Ш2), on one side (Ш1) and unpolished (NSH). It is divided into two classes in terms of formaldehyde content (milligram per 100 grams of dry weight) - marking E1 and E2. In class E1, the level of harmful substances is 10 mg per 100 g, in class E2, 10 - 30 mg per 100 g of dry leaf mass. Plywood with E1 marking is preferable for interior work.
Thus, the best option for a finishing floor is FBA-2E1SH1 birch plywood with a thickness of 12-16 mm. It is safe for humans, affordable and perfect for further installation of parquet, linoleum and laminate.
Important! Do not purchase third-grade plywood for your flooring. The optimal combination of price and quality for flooring with birch plywood of the second grade.
Criteria for choosing plywood for flooring
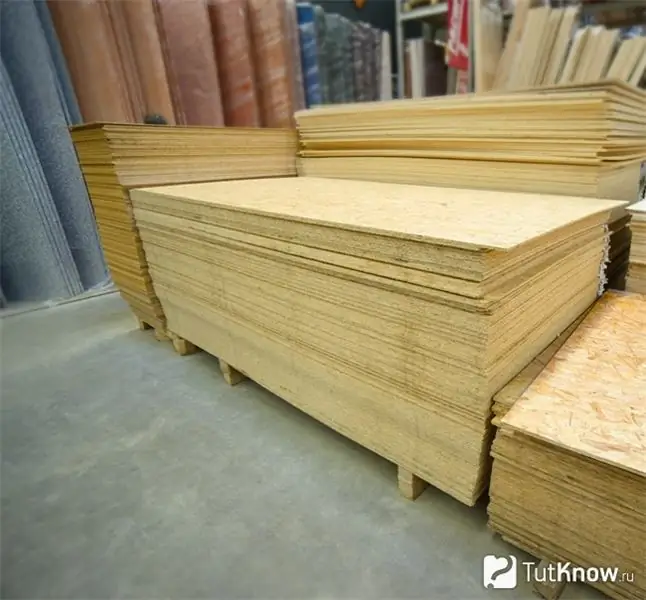
Reasonable price, decent quality and environmental friendliness are the main characteristics of building materials that we always pay attention to. In order to finally decide on the question of which plywood to choose for the floor, you need to correctly assess your desires and capabilities. When going to the store, pay attention to the following points:
- Glue … It is used to connect veneer sheets together. Urea and formaldehyde are hazardous to health. They evaporate slowly. If inhaled, you can get severe poisoning. Albumocasein and bakelite adhesives are safe for human health.
- Pricing … If the price of plywood sheet is suspiciously low, it is most likely a low quality product from China. It has a poor performance, a "lumpy" top coat and poor edge finishing.
- Marking … Shows the resistance of the material to moisture and what kind of impregnations the wood is treated with.
The plywood itself must be selected depending on the final flooring. For carpet and linoleum, you need to use thin sheets, and for parquet or laminate thicker -> 10 cm. For a high-quality rough base, give preference to the FBA grade of the third grade with one polished side.
Advantages and disadvantages of plywood flooring
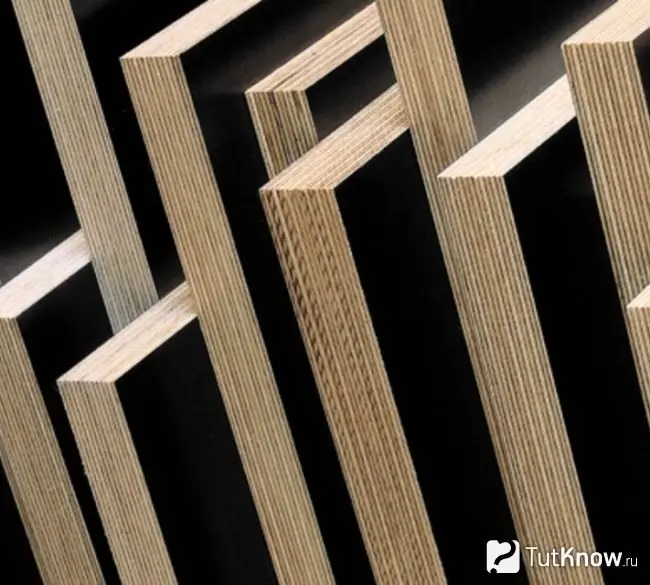
Wood-laminated boards have 4 positive qualities:
- Strength / wear resistance … The original purpose of plywood is to reinforce weak points on a wooden floor. Veneer layers are glued perpendicular to each other, resulting in a durable surface. The thicker the floor plywood is, the stronger it is.
- Low price … Plywood is made from veneer, whole pieces of wood are not used, there is little waste in production. Therefore, the cost of the material is low.
- Versatility … Plywood, especially of small thickness, easily takes rounded shapes. When using natural wood, this is impossible. With the help of plywood, you can create rounded structures, while the finished surface will never crack.
- Ease of installation … Plywood is easy to work with. It can be easily cut with a jigsaw or small hacksaw. Sawing can be carried out in any direction without the fear of knots and burrs. With a tree, such manipulations are impossible.
Plywood has only 2 drawbacks - standard dimensions (length, width and thickness of sheets) and fear of moisture. The dimensions of the sheets are 1, 525 x 1, 525 m, the thickness is different. You can contact the manufacturer directly and order the material of the required size and thickness, only it will cost 50 percent more. The fear of moisture is due to plywood production technologies: water can get between the layers and seep deep into the sheet, destroying the adhesive bond. Bakelized plywood is used for the manufacture of yachts. It resists moisture for a long time, but is expensive. Therefore, it is irrational to use it for something other than shipbuilding.
Technology for mounting plywood on the floor
Plywood is laid on both a concrete and a wooden base, according to the principle of brick ligation with an offset, in order to avoid joining the corners of the four slabs at one point. The standard size of the sheet is too large to fit it entirely, so it needs to be cut into four pieces, getting small squares of 60 x 60 cm. In addition to the elementary convenience in work, it is possible to increase the number of damper joints that are necessary to compensate for deformations when the floor is exposed to heat and moisture.
Preparatory work before laying plywood

You will need a few tools to lay the plywood. These are a screwdriver and self-tapping screws for fastening the material to the base, a level for controlling evenness, a tape measure for marking and cutting, a jigsaw for high-quality sawing.
Another important point is the surface on which the marking and cutting will take place. It should be perfectly flat and stable. Working with an electric jigsaw requires precision movement. If the cutting table is unstable, it will not be possible to cut the plywood correctly.
Leveling the floor with plywood begins with working on the rough base. This material is sensitive to the quality of the substrate, so a level is required to work. With its help, you need to check the base on which the plywood will be laid for evenness. With a slope of more than 1 cm per meter, you will have to resort to leveling.
If the floor is wooden and it is not planned to remove it, laying the log will be the way out. If the plywood is to be laid on concrete, then you will have to work hard, leveling it "like a testicle." The room must be swept and vacuumed as thoroughly as possible before plywood is laid. Further actions if the base is wooden:
- Check the floor for strength, identify old, rotten floorboards and replace them with new ones.
- Walk across the floor with the level. If the difference is up to 1 cm per meter, when laying plywood, use a system of underlays (small pieces of plywood with which you can achieve the desired height) under the sheets. If the difference is significant, it is best to remove the old coating completely and fill in a self-leveling concrete screed. True, it will take more than a month to wait until it is completely dry and gains working strength.
- The second option for leveling a wooden base before laying plywood is a log system. It can also be used on a flat surface if in the future it is planned to lay a wooden floor, laminate, carpet, linoleum.
Laying plywood on concrete is almost always associated with a set of work to level the base. The rough slab, on which the floor is then laid, always has a rough surface, dotted with bumps and shells. Before installing plywood, all these defects must be eliminated.
The work is done like this:
- Remove debris and dust from the concrete slab.
- Knock down protruding irregularities, seal the places with cement mortar.
- "Fill" the sinks with cement mortar. Allow the floor to dry and prime with a deep penetration concrete primer to enhance adhesion between the subfloor and the future cement screed.
- Mark the floor in roughly equal squares. Use beacons for this. Secure them to plaster mortar and set at the desired level.
- Seal the dry cement mixture with water according to the instructions. Use a drill with a mixer attachment for mixing.
- Place the mortar in a square in the far corner of the room, level it with a rule and smooth it with a trowel.
- When the mortar sets, remove the beacon that is closest to the wall and fill a new square with the mortar.
- Repeat the steps until the entire floor area is covered with a new screed.
- Wait 28 days for the new surface to gain working strength and dry completely.
Fitting and cutting plywood sheets for the floor
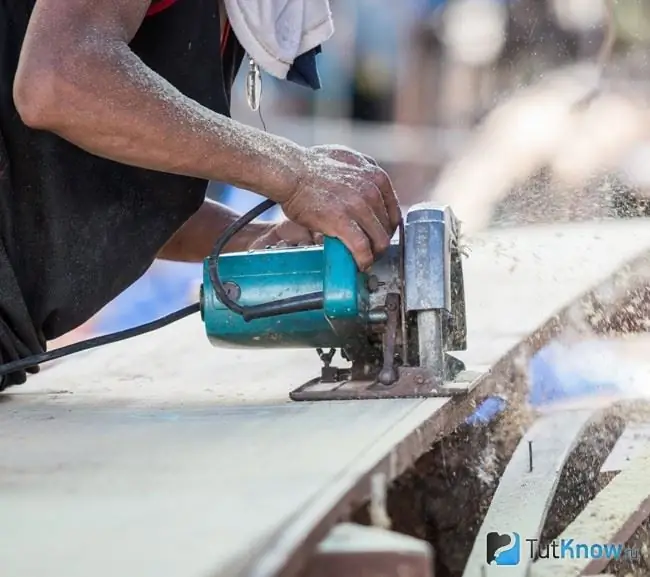
This stage also refers to preparatory work and consists of several mandatory steps:
- Measure the area of the room.
- When cutting, take into account the presence of damping gaps of 3-4 mm between the sheets of material and one centimeter near the walls. If you ignore this, then temperature drops and moisture ingress will lead to "swelling" of the base.
- Try on plywood - lay it without fixing the way it will be laid in the final version. Lay the sheets with offset vertical seams in the brickwork manner. The joints between them should be in the middle of the lag.
- After trying on, number the material.
Important! Be sure to check for defects, if the sheets delaminate, then replace them.
Floating fixation of plywood to the base
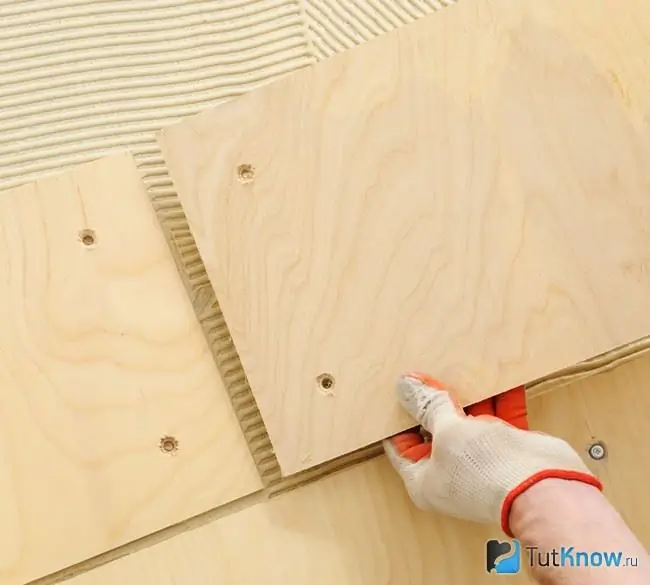
There are two options for installing wood-laminated panels on concrete - floating directly on the base and along the logs.
Installation technology:
- Dust off the leveled base.
- Fold the cut and numbered plywood in a stack in the order of the sheets.
- Apply glue to the back of the sheet (pine resin should be included in the glue).
- Place the glue-coated plywood in the right (or left) far corner and press it to the floor.
- Drill holes in each corner of the glued board with a puncher (for the length of the dowel).
- Insert a dowel into the hole and hammer it in.
- Repeat the same with the rest of the sheets.
- Fill the joints between the sheets with wood putty, glue them on top with mounting tape.
Fastening plywood to logs
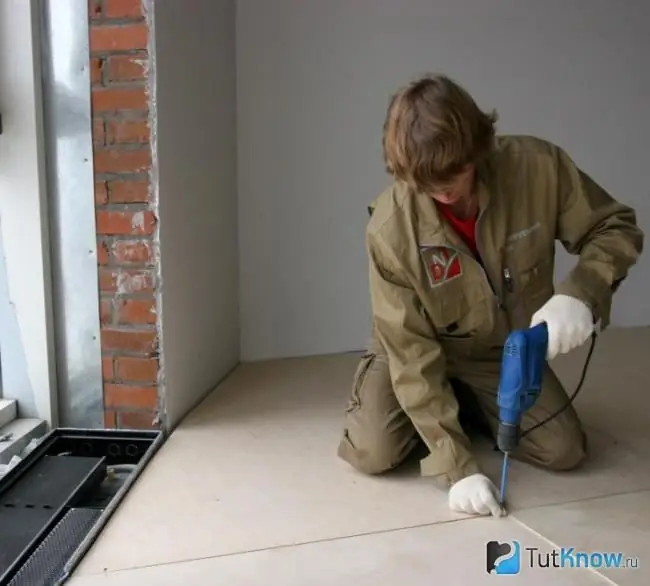
This is the easiest way to level the base. Plywood with a thickness of 0.5-1 cm can be used as a lag, or you need to purchase a bar with a square section of 2 x 2 cm.
We fix the lag system in the following sequence:
- Make markings on the floor to install the lag.
- Attach them according to this marking using special wood glue and self-tapping screws. If there are gaps between the floor and the joists, fill them with pieces of plywood of suitable thickness, having previously greased both sides with glue.
- Make a crate. The dimensions of each cell must match the dimensions of the plywood sheets.
- Fill the empty spaces between the subfloor and the final floor with insulation.
Do-it-yourself plywood floors on the logs are easy to lay. The material is marked so that in the middle of each log there is a joint of two parts or the middle of the sheet. Self-tapping screws are used for fixing, so you will need either a screwdriver or a drill that can work at low speeds.
Watch a video about installing plywood on the floor:

Now you know everything about how to level the floor with plywood. Always use a level when working. Use it to level the rough base and install the joists. Plywood is a convenient material for further finishing, in addition, it provides good additional thermal insulation and dampens some of the noise.


